DOM Manipulation: part II
In a previous article, we talked about DOM selectors, styling, text modifiers and events. Let's focus now on the following DOM concepts:
DOM create & remove elements
If we want to add certain elements to our app or website with JavaScript, we can use the following methods:
document.createElement(name of the tag) → creates an HTML element:

document.appendChild() or element.append() → adds an HTML element where we want:

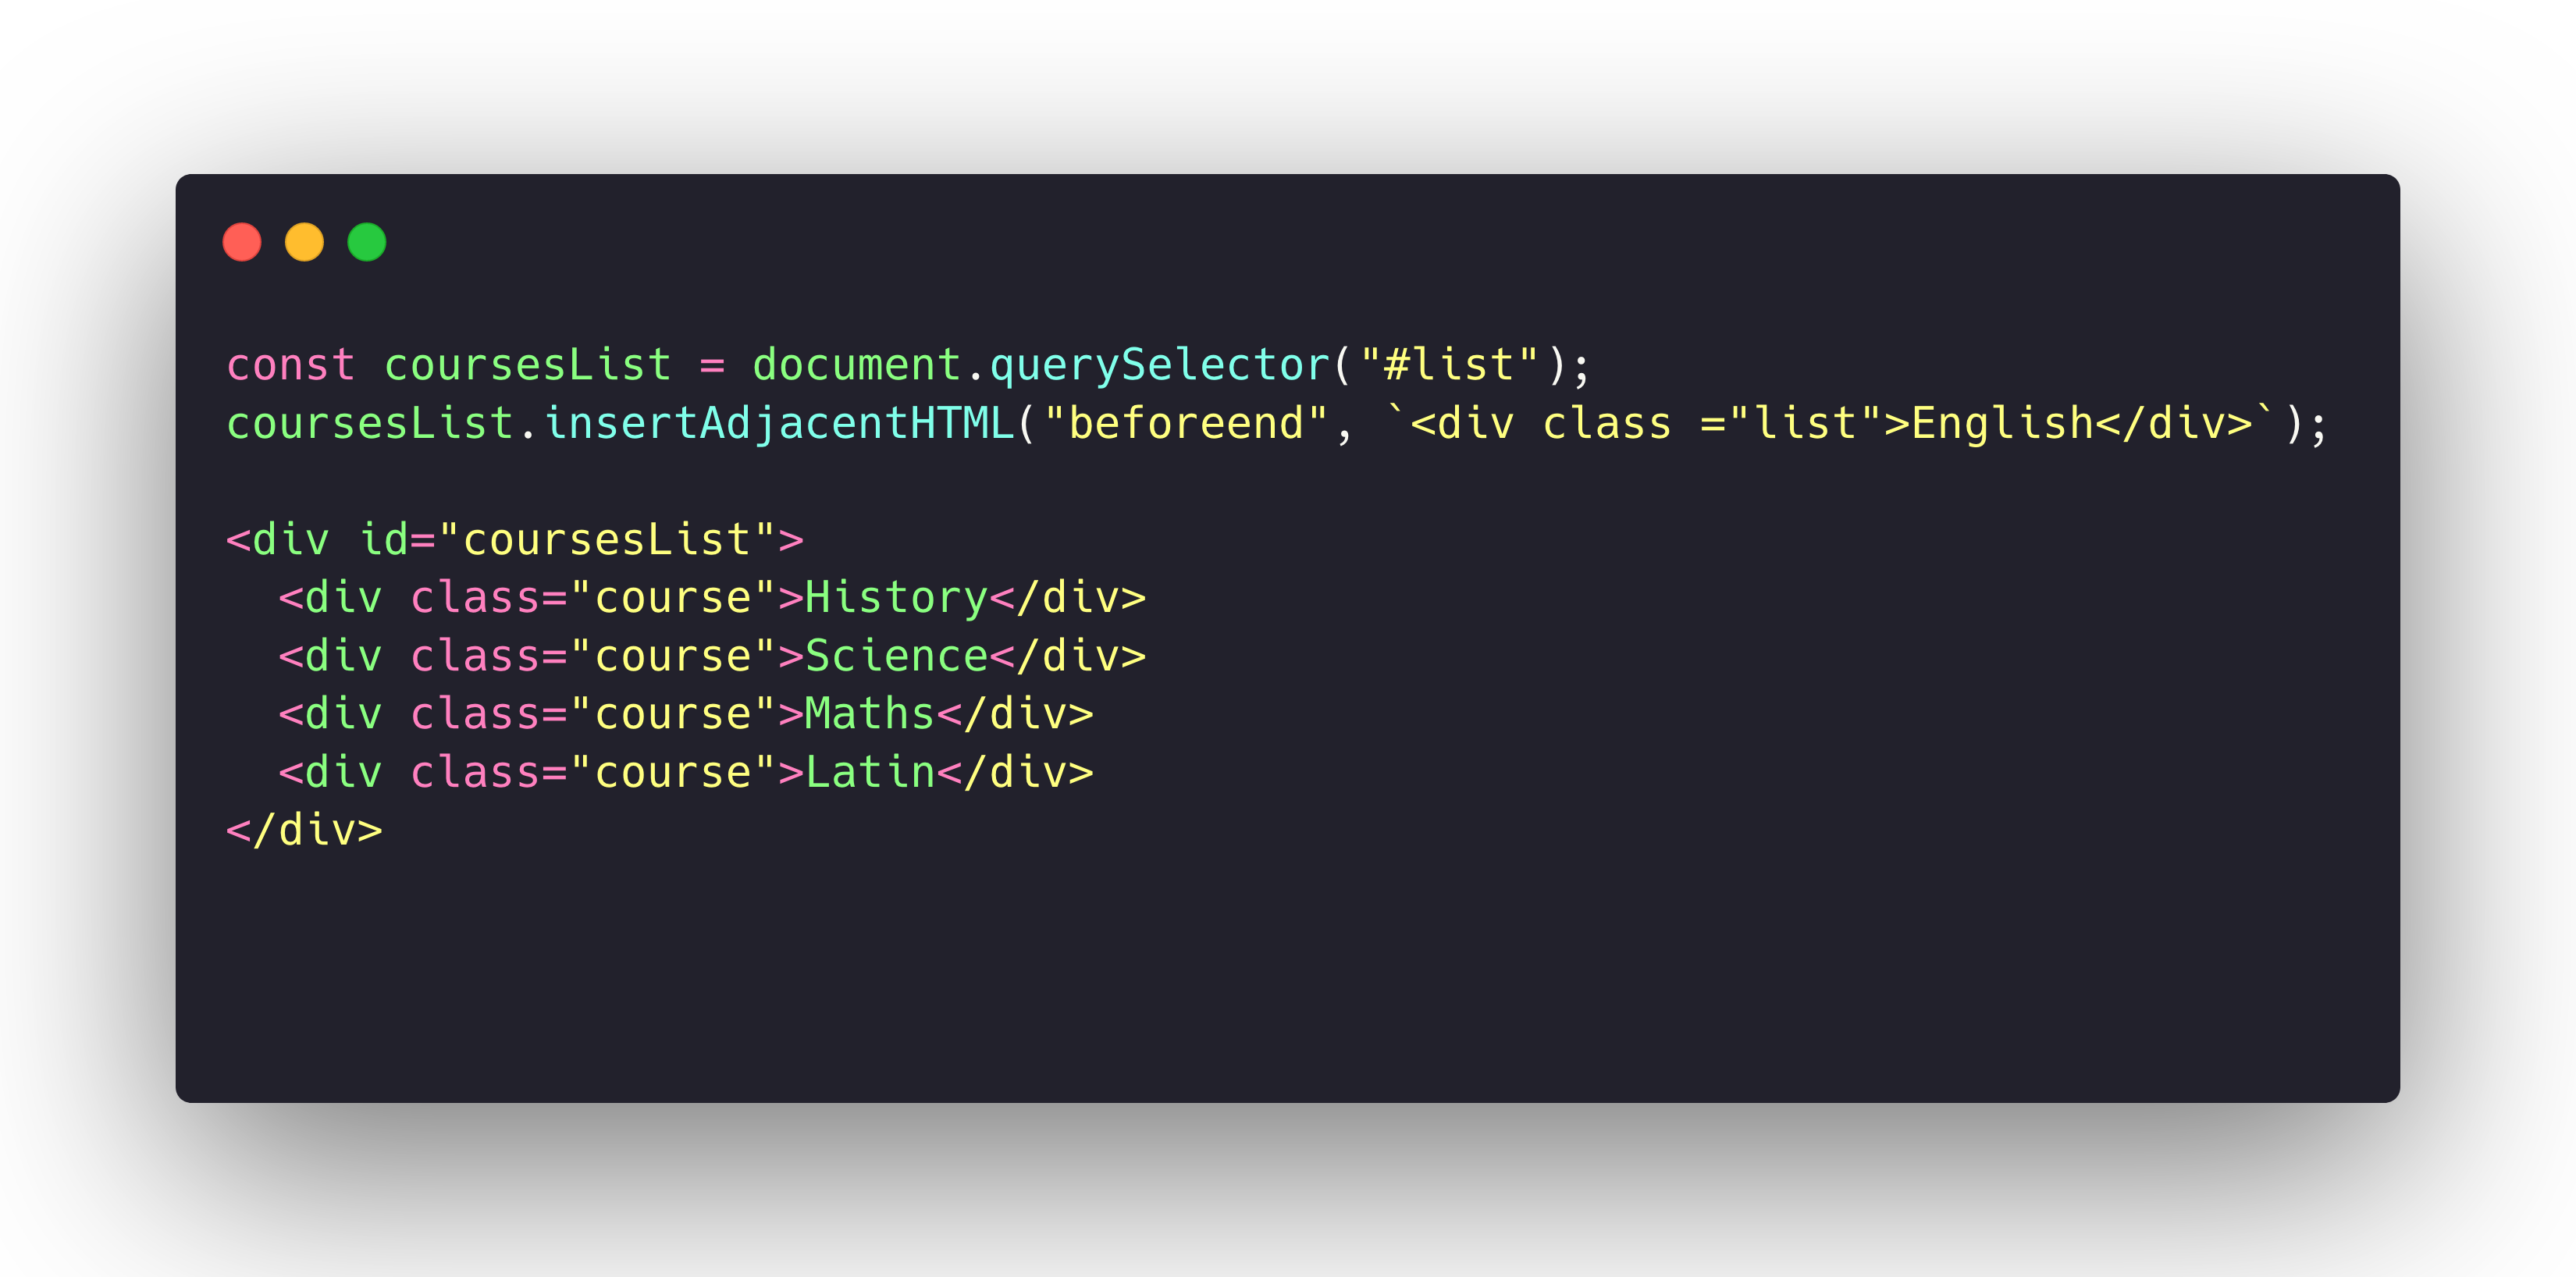
document.insertAdjacentElement(position, element) → adds an HTML element before or after another element, in the position we indicate (afterbegin or beforeend) and using template literals. It is commonly used with lists:

element.remove() → removes an element from the DOM:
DOM classes
JavaScript also allows us to play with classes to show or hide an element in the DOM. The basic methods to add and remove a class or check if an element has a class are:
- element.classList.add(“className”)
- element.classList.remove(“className”)
- element.classList.contains(“className”) → returns a boolean (true or false) whether the class exists or not.
Let's have a look at an easy example and see how to play with classes with JS:
We create the class in CSS with the styling we would like to apply to an HTML element and afterwards we simply add the class to the desired element with element.classList.add(“className”)
Another example to reveal and hide content using classes:
Very similar to the previous concepts is element.classList.toggle("className"), which adds or removes a class depending on whether the class already exists or not. Have a look at the following simple example:
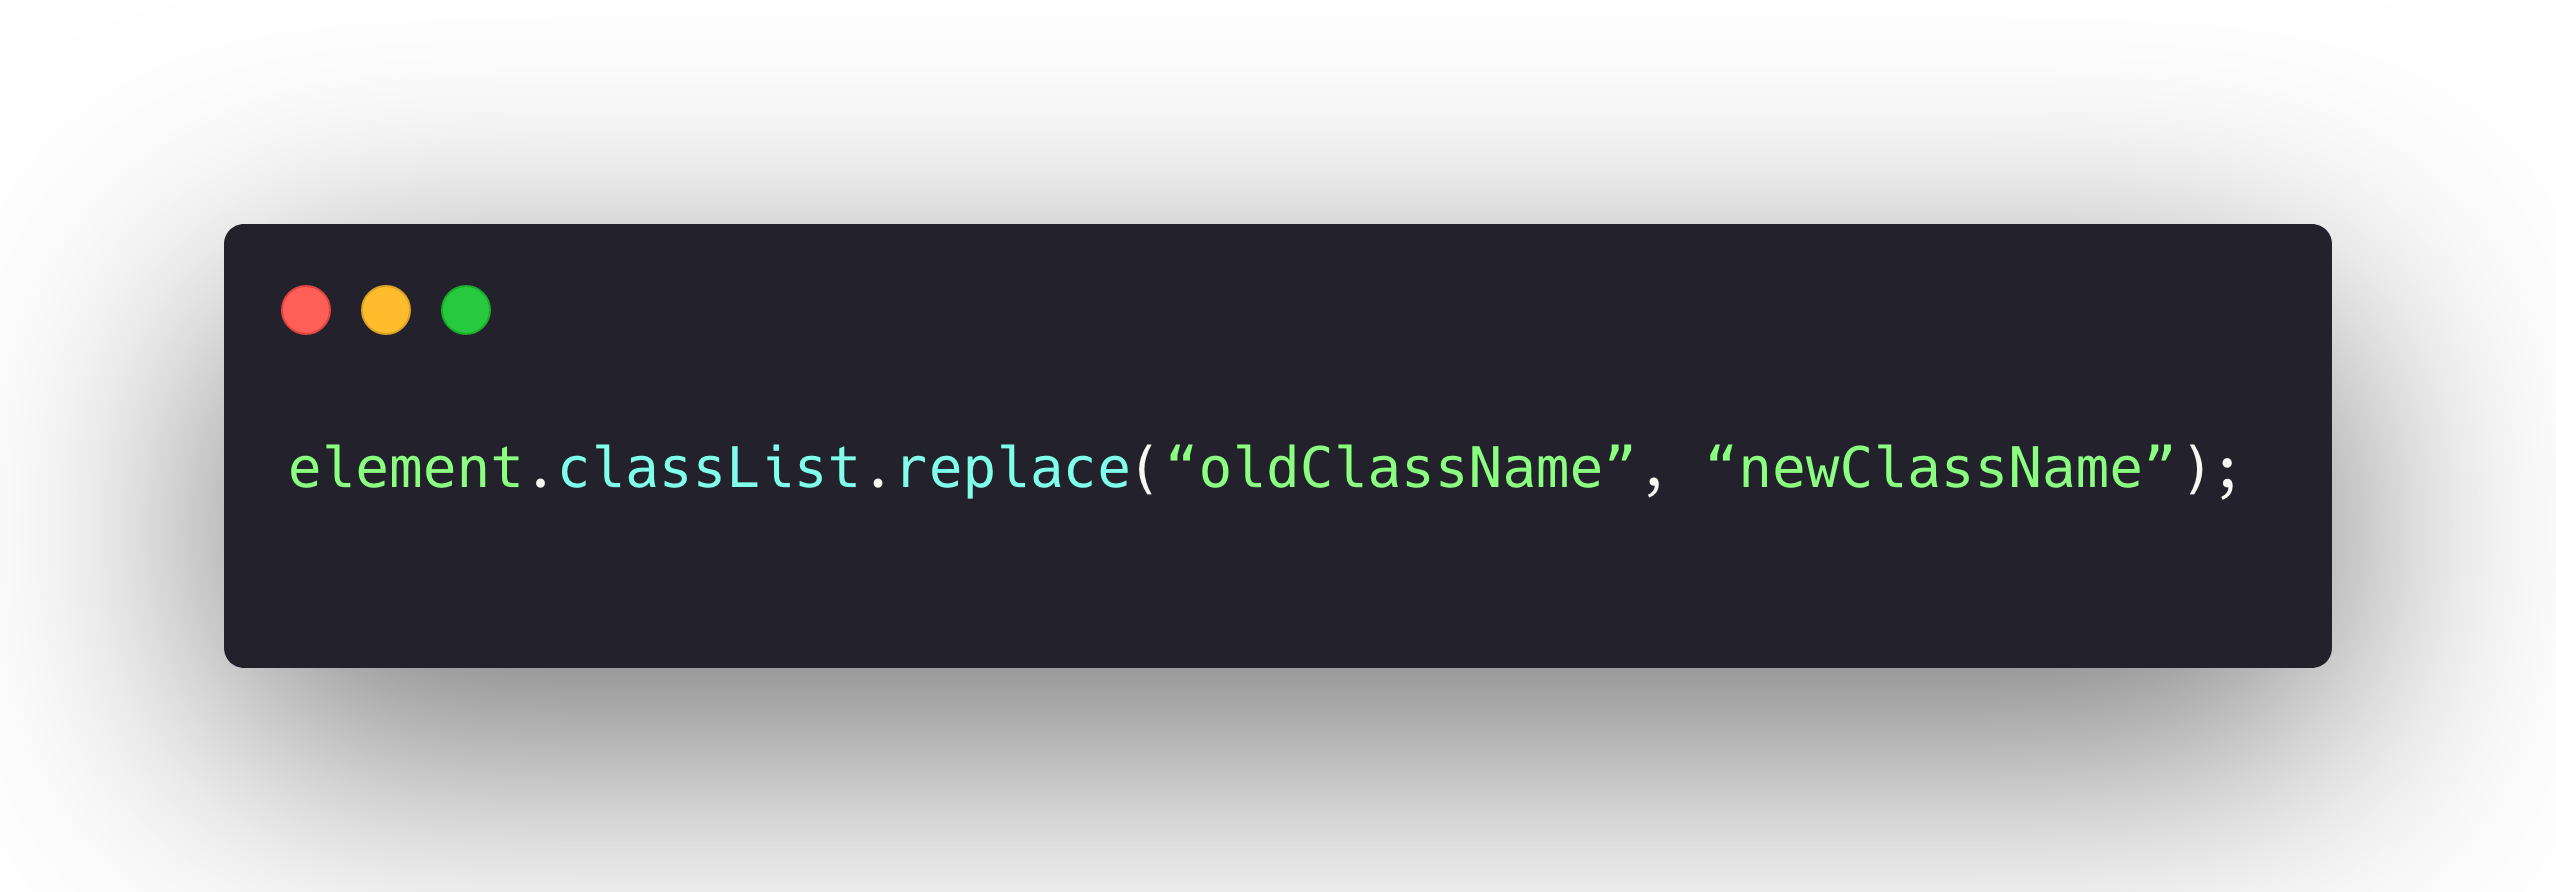
We can also replace a class name with a new one with:

DOM attributes
HTML elements can have attributes like class, id or disabled. In order to manipulate them we can use the following methods:
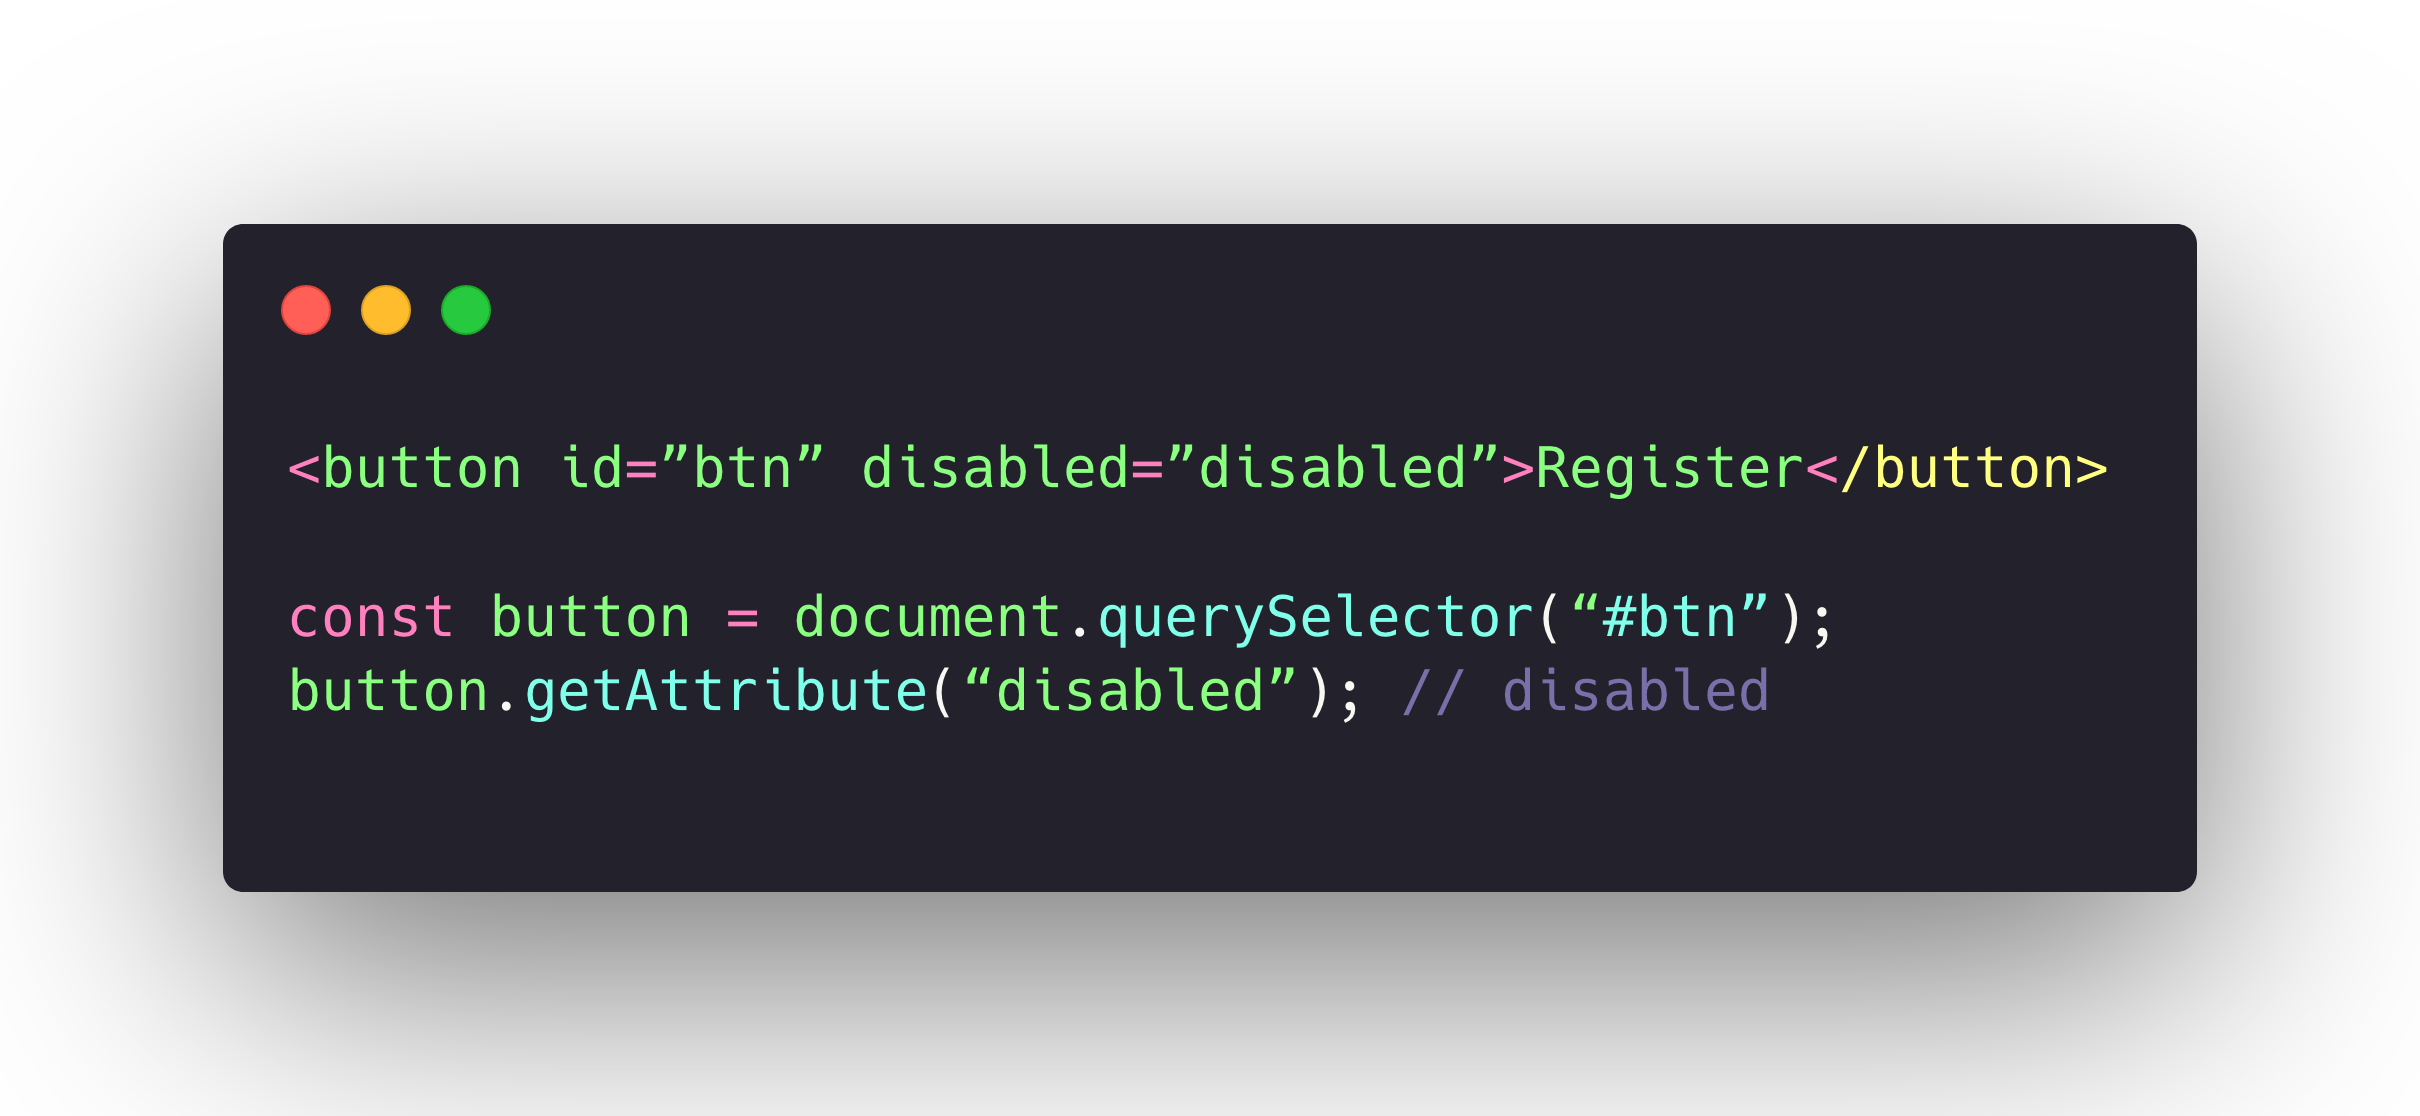
element.getAttribute(key) → takes an attribute's value:

element.removeAttribute(key) → removes an attribute's value. According to the previous example:

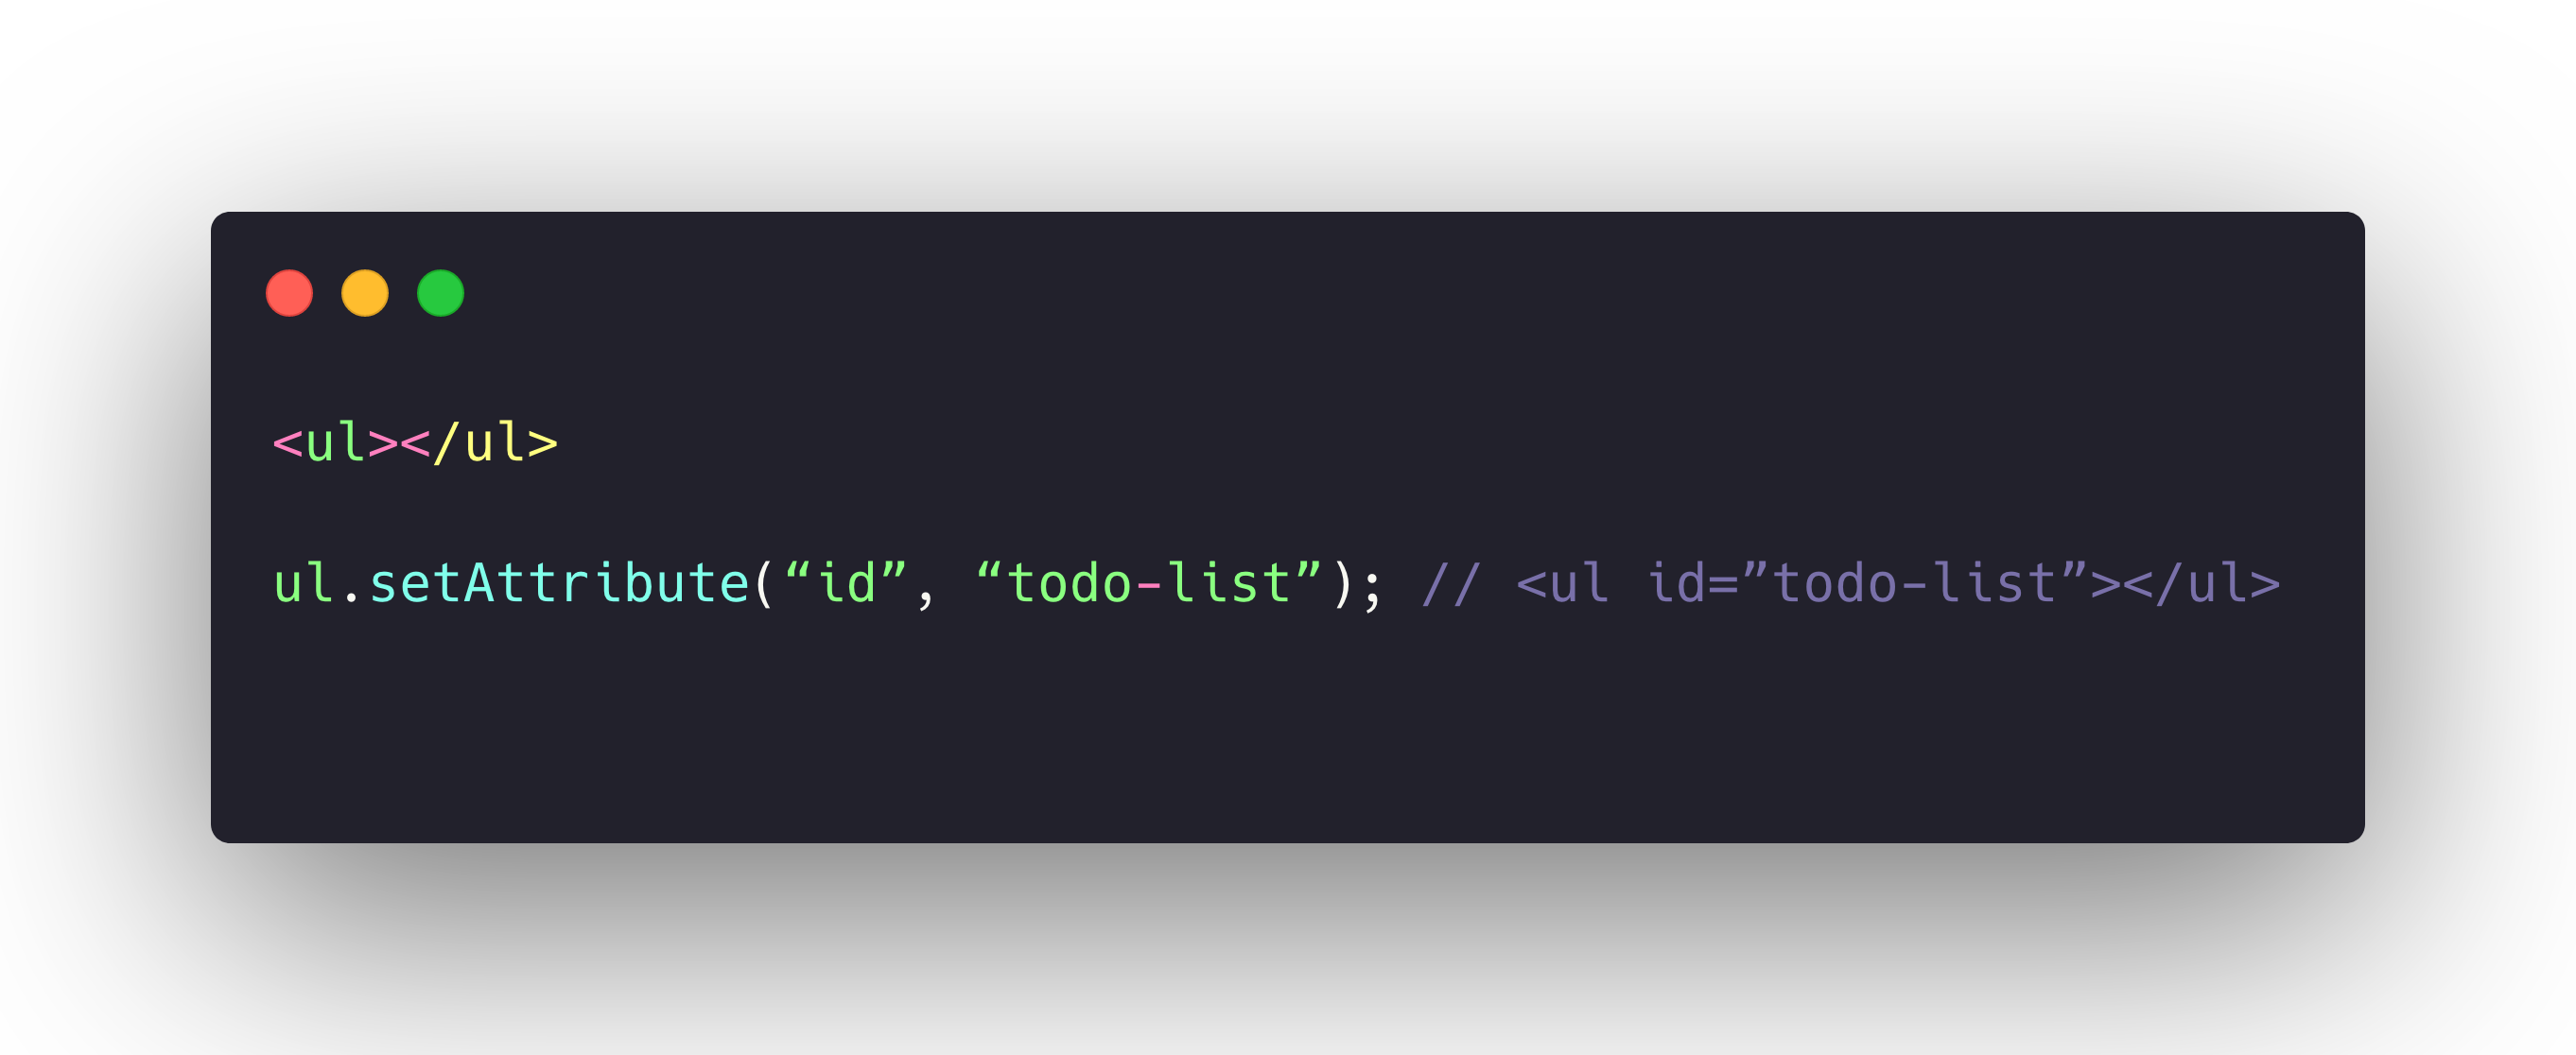
element.setAttribute(key, value) → adds an attribute and gives it a name or value:

element.hasAttribute(key) → checks if an attribute exists and returns a boolean:

Put in practise all DOM concepts that you have learnt with the following fun projects from Freecodecamp!

